How to Make a DIY Carboard RC Plane
Step 1: Design and Print Custom Components
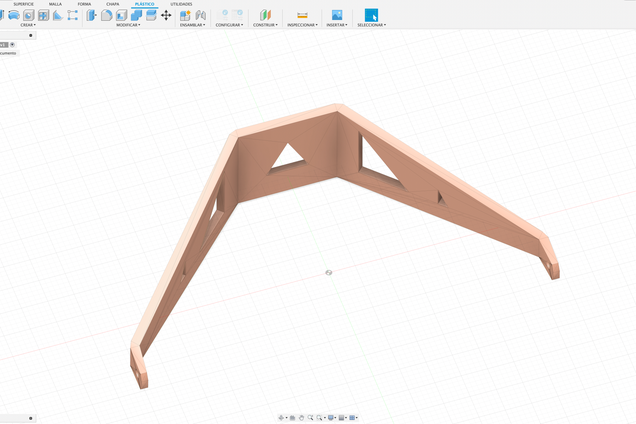
An essential part of this project is the custom components that enhance the functionality and appearance of your RC plane. I designed these components using Fusion 360, a powerful CAD software, and then 3D printed them to ensure they fit perfectly and perform well.
Materials Needed
- Fusion 360: For designing custom parts.
- 3D Printer: To print the designed parts.
- PLA Filament: Or another suitable 3D printing material.
- Sanding Paper: For finishing 3D-printed parts.
Steps to Design and Print:
- Designing in Fusion 360:
- Open Fusion 360 and create new designs for each component. Start with simple sketches and use the extrude, fillet, and other tools to create detailed 3D models.
- Ensure all parts are designed with the correct dimensions to fit your RC plane. Pay special attention to the mounting points and structural integrity.
- Exporting and Slicing:
- Once the designs are complete, export them as STL files. (You can download the files in the supplies section)
- Import the STL files into a slicing software (like Cura) and prepare them for 3D printing. Adjust settings for layer height, infill density, and print speed as necessary.
- 3D Printing:
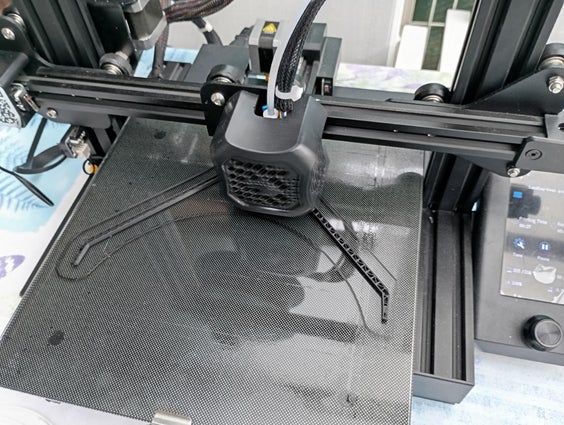
- Load the PLA filament into your 3D printer and start the printing process. Monitor the print to ensure there are no issues like warping or layer shifting.
- Once printing is complete, carefully remove the parts from the print bed.
I encountered a filament jam during one of the prints, but with some troubleshooting and patience, I was able to resolve it and continue.
- Finishing the Parts:
- Use sandpaper to smooth any rough edges or surfaces on the printed parts.
Tips:
- Iterative Design: Don't be afraid to go back to Fusion 360 and tweak your designs if the first print isn't perfect. Iteration is key to getting the best results.
- Print Quality: Higher infill density and smaller layer heights will yield stronger and more detailed parts, but they will also take longer to print.
Step 2: Prepare Cardboard
Before diving into the construction of the DIY cardboard RC plane, it's crucial to prepare the cardboard material properly.
Materials Needed
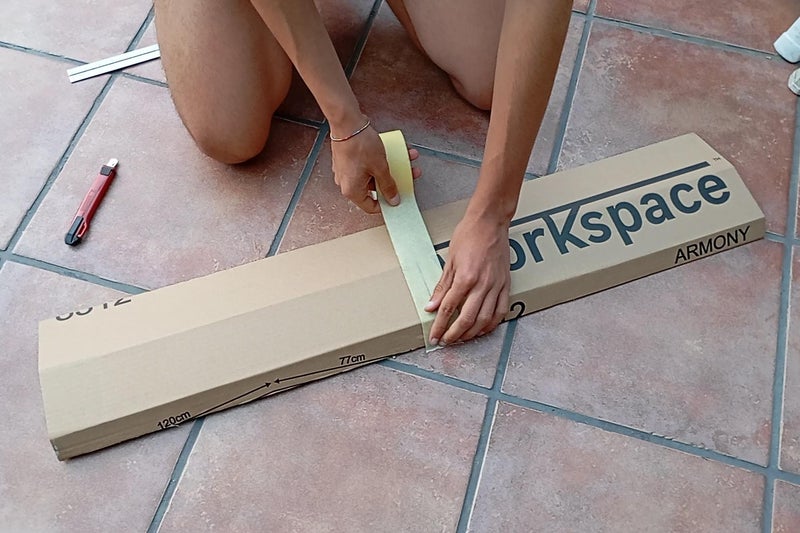
- Large Cardboard Box: I have used one that contained a desk. It has to be large since it will serve as the main material for your plane.
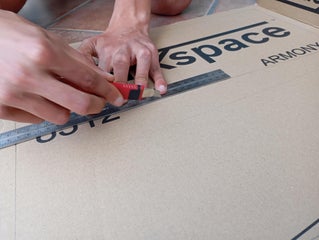
- Craft Knife: For cutting out cardboard pieces accurately.
- Ruler and Measuring Tape: To measure and mark dimensions on the cardboard.
- Pen or Pencil: For tracing and marking cut lines on the cardboard.
- Cutting Mat: To protect your work surface from cuts and scratches.
Steps to Prepare Cardboard:
- Flatten the Cardboard: Carefully open up the cardboard box and flatten it out completely. Remove any staples, tape, or unnecessary protruding pieces.
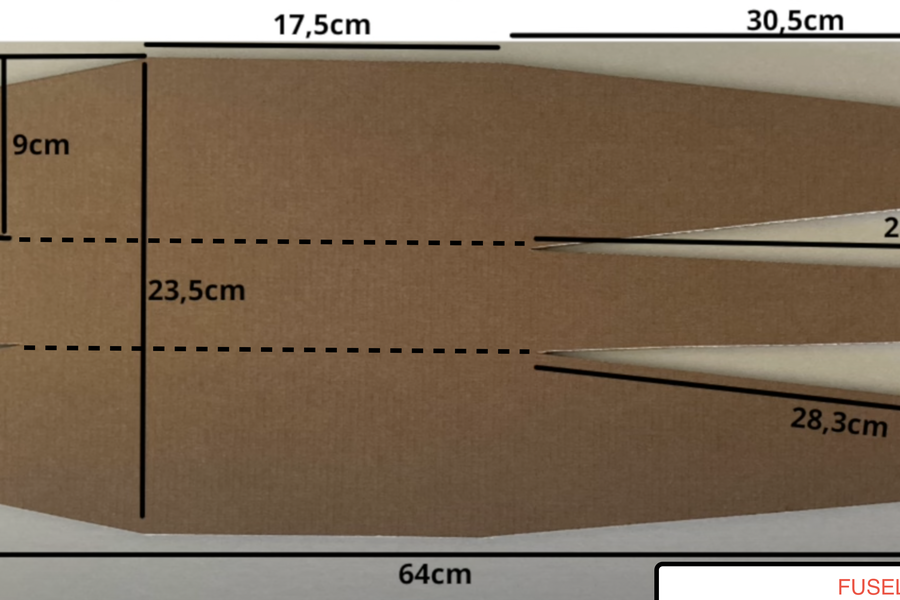
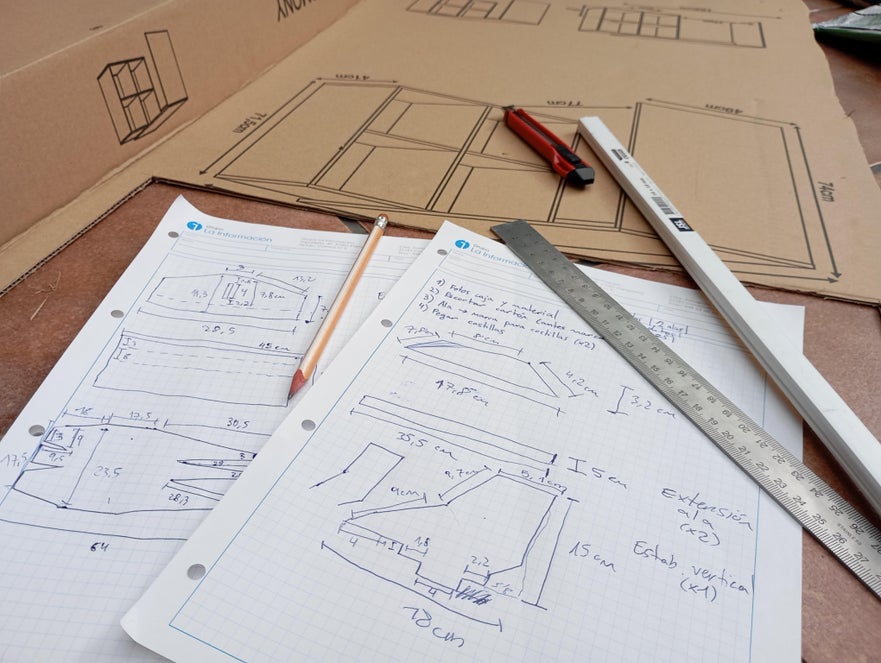
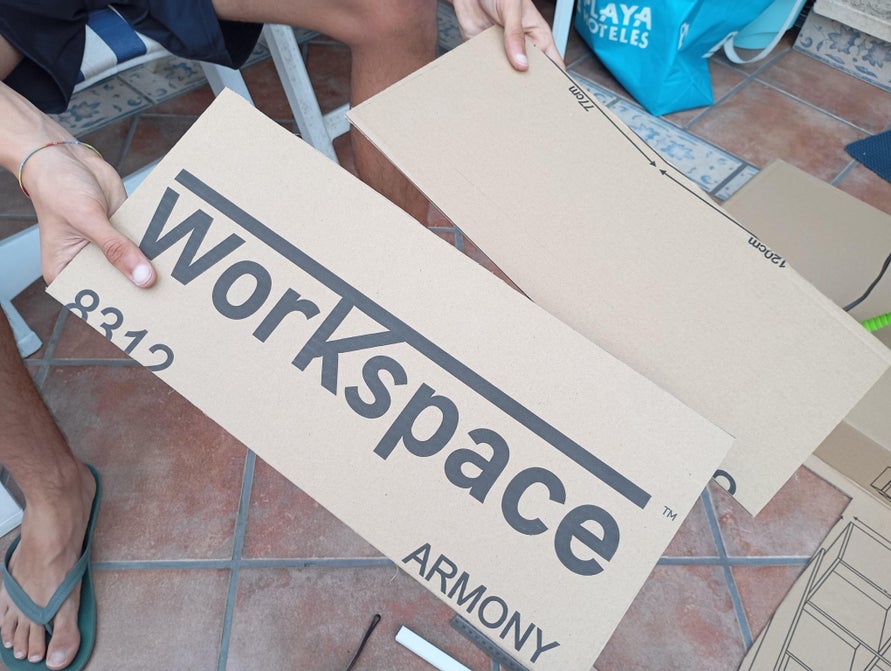
- Mark and Measure: Use a ruler and measuring tape to mark out the dimensions needed for the fuselage, wings, and tail sections of your RC plane. You can refer to the attached design plans for accurate measurements.
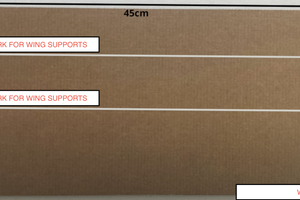
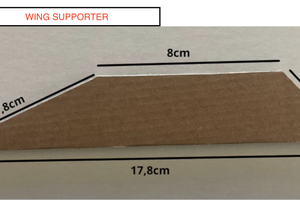
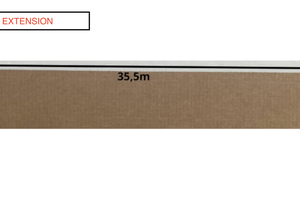
In the photos accompanying this tutorial, you will find detailed measurements of the pieces required to build your cardboard RC plane. Each image is designed to clearly show the exact dimensions you need to cut and prepare, ensuring you can replicate the process accurately and achieve optimal results in construction. These measurements are crucial to ensure structural strength and proper aerodynamics for your project.
Pieces:
- Fuselage (x1)
- Wing (x2)
- Wing supporter (x8)
- Wing extension (x2)
- Aircraft vertical stabilizer (x1)
- Aircraft horizontal stabilizer (x1)
Step 3: Cut Out Pieces
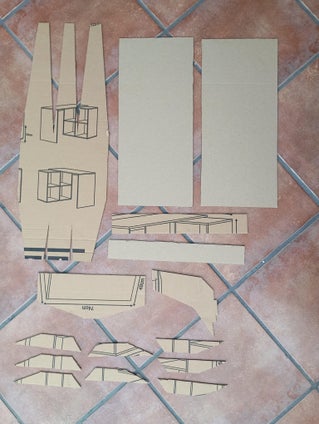
Using a craft knife, carefully cut out the marked cardboard pieces according to the measurements. Take your time to ensure clean cuts and accurate shapes, as these will directly impact the structural integrity and aerodynamics of your plane.
Workspace Pro Tip:
Lay out all your cut cardboard pieces in an organized manner on your workspace. This will help you visualize the assembly process and ensure you have all necessary components ready.
Step 4: Wing Assembly Part 1 - Marking and Shaping
The wings are critical for your RC plane's performance, and proper construction is key to achieving good flight characteristics. In this step, you'll prepare the wing structure by marking and shaping the cardboard to form the airfoil shape.
Materials Needed
- Prepared Cardboard: Cut to the dimensions of your wings.
- Craft Knife (Cutter): For making precise cuts.
- Ruler: For accurate measurements and straight lines.
- Pencil: For marking and shaping the cuts.
Steps to Mark and Shape the Wings:
- Mark Rib Positions:
- Lay out the cardboard piece intended for the wing flat on your work surface.
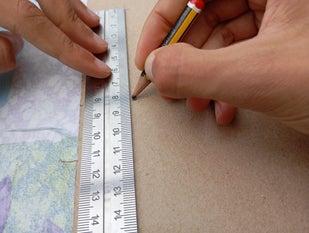
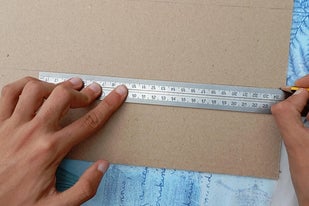
- Using a ruler, mark the positions where the wing ribs will be. These marks should be evenly spaced along the length of the wing.
- Cut Along Marks:
- Carefully use the craft knife to make shallow cuts along the marked lines. These cuts should not go all the way through the cardboard; they are meant to help bend the material.
- Open Cuts with Pencil:
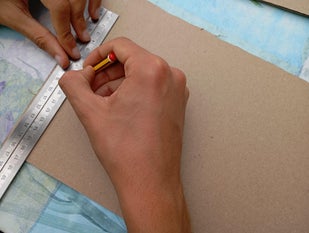
- Run a pencil along each cut to gently open it up. This will create a slight groove, allowing the cardboard to bend more easily and smoothly.
- Bend Cardboard:
- Begin bending the cardboard along the cuts towards the side of the cut. This will start to form the wing's airfoil shape, with the grooves on the inside of the curve.
Tips:
- Consistent Pressure: Apply consistent pressure when making cuts and bending to ensure uniformity in the wing shape.
- Gentle Bending: Be gentle when bending to avoid tearing the cardboard.
Step 5: Wing Assembly Part 2 - Adding Ribs and Final Shaping
Now that the cardboard is marked and partially shaped, it's time to add the internal ribs and finalize the wing structure. This will provide the necessary support and rigidity for flight.
Materials Needed
- Cardboard Ribs: Pre-cut to fit the internal structure of the wings.
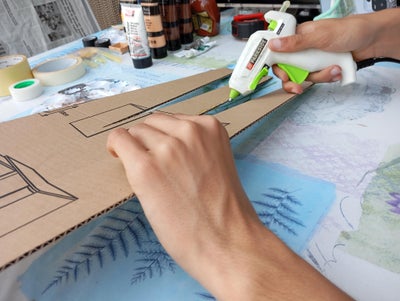
- Hot Glue Gun: For securing the ribs in place.
- Ruler: To ensure proper alignment.
- Small Square Cardboard Pieces: For additional internal support.
Steps to Add Ribs and Shape the Wings:
- Position Ribs:
- Place the pre-cut cardboard ribs at the marked positions within the wing structure. Ensure they fit snugly within the grooves created in the previous step.
- Glue Ribs in Place:
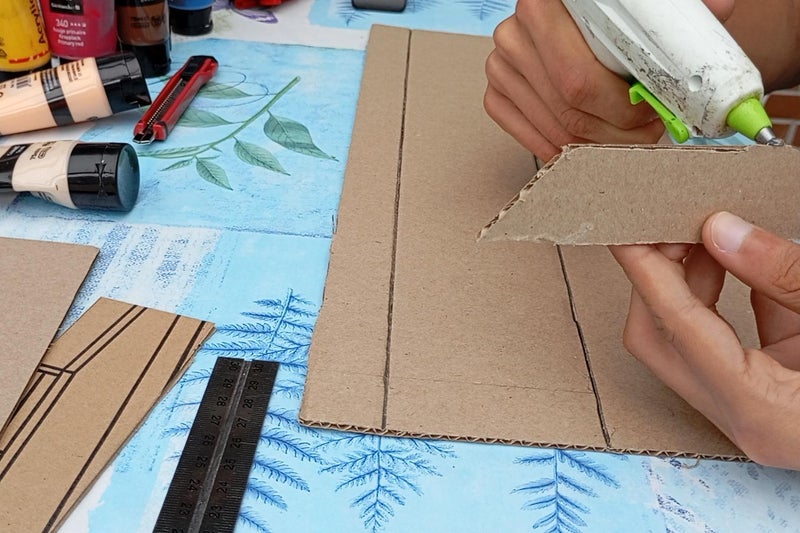
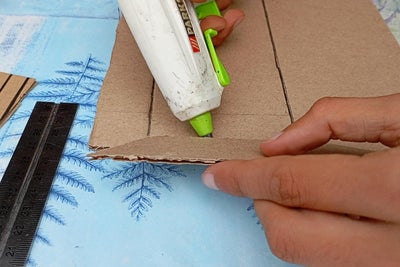
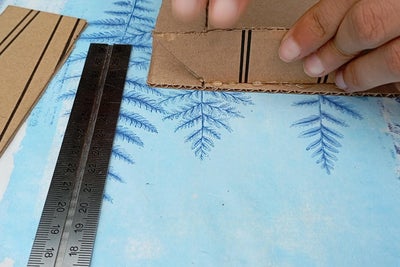
- Use a hot glue gun to apply glue along the edges of each rib. Secure the ribs in place, ensuring they are perpendicular to the wing surface and evenly spaced.
- Add Support Squares:
- Place a small square piece of cardboard inside each wing, ensuring it is securely glued. This piece will act as a support roof for the fuselage, providing additional structural integrity.
- Shape the Wing:
- As the glue sets, gently shape the wing to form the desired airfoil curve. Hold the shape until the glue has fully cured to maintain the proper form.
- Reinforce Joints:
- Apply additional hot glue along the joints where the ribs meet the wing surface. This will add extra strength and rigidity to the structure.
Tips:
- Check Alignment: Ensure all ribs and support squares are aligned correctly before the glue sets to maintain the aerodynamic shape of the wing.
- Use Enough Glue: Don't skimp on the hot glue; adequate adhesive will ensure the ribs and support squares stay firmly in place during flight.
Step 6: Wing Assembly Part 3 - Joining the Wings
In this step, you'll join the two wings together to form a single, sturdy wing structure. This involves using adhesive tape and hot glue to ensure a strong bond between the wings.
Materials Needed
- Prepared Wing Sections: Both wings from the previous steps.
- Adhesive Tape: Strong tape for initial joining.
- Craft Knife (Cutter): For making precise cuts.
- Hot Glue Gun: For reinforcing the joint.
Steps to Join the Wings:
- Align the Wings:
- Place the two wing sections side by side, aligning them carefully to ensure they match up perfectly.
- Tape the Wings Together:
- Use adhesive tape to join the two wings together along the top and bottom surfaces. Ensure the tape runs the entire length of the joint, providing an initial bond to hold the wings in place.
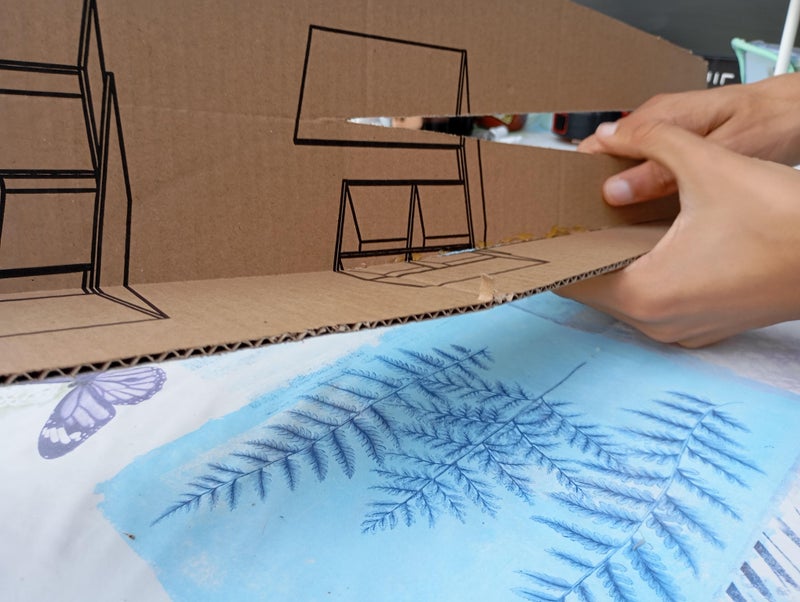
- Cut Along the Top Joint:
- Using a craft knife, carefully cut a small opening along the top joint of the wings. This cut should be just enough to allow access for the hot glue gun nozzle.
- Apply Hot Glue Inside:
- Open the cut slightly and use the hot glue gun to apply a generous amount of hot glue inside the joint. This will reinforce the bond from the inside, adding significant strength.
- Reinforce the Joint with Hot Glue:
- After the internal glue has cooled and set, apply additional hot glue along the joint on both the top and bottom surfaces. Ensure you cover the entire length of the joint, creating a solid and secure connection.
Tips:
- Ensure Alignment: Double-check the alignment of the wings before and after taping to ensure they are joined correctly and symmetrically.
- Work Quickly with Hot Glue: Hot glue sets quickly, so be prepared to work efficiently to apply it inside the joint and along the surface.
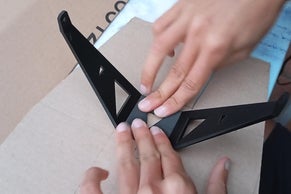
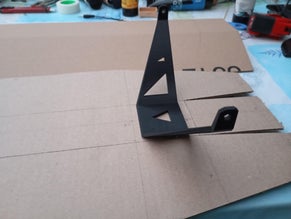
Step 7: Attaching the 3D-Printed Landing Gear to the Fuselage
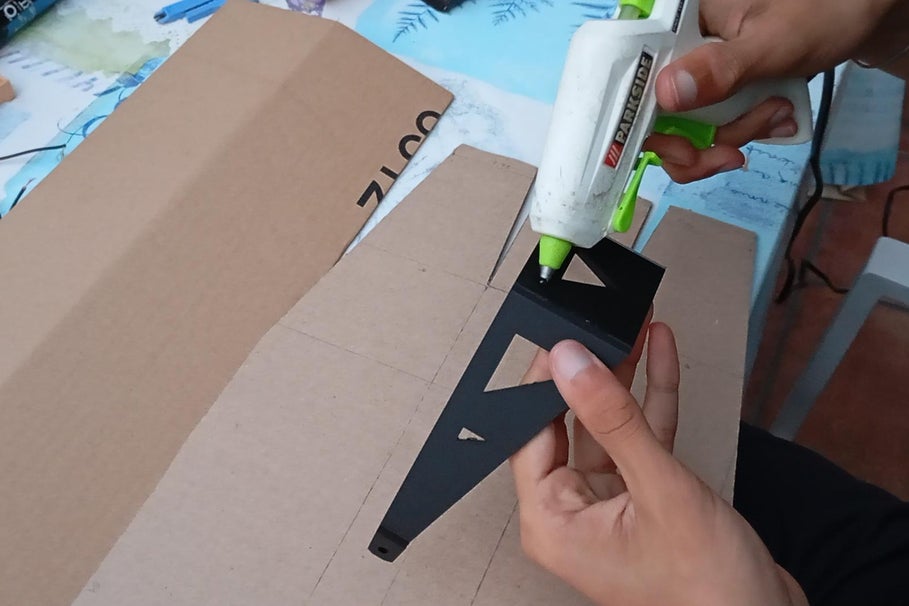
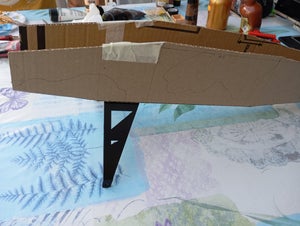
With your fuselage still in its flat, pre-cut form, it's an ideal time to attach the 3D-printed landing gear. This step will ensure your RC plane has a sturdy base for takeoffs and landings.
Materials Needed
- Fuselage Cardboard Cutout: Pre-cut and marked for assembly.
- 3D-Printed Landing Gear: Including wheels and mounting parts.
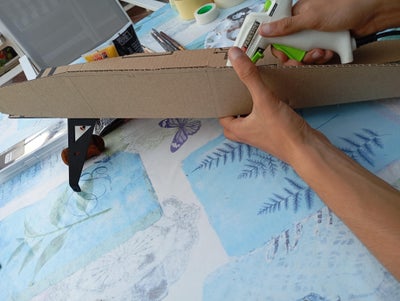
- Hot Glue Gun: For securing the landing gear.
- Ruler: For precise placement.
- Pencil: For marking positions.
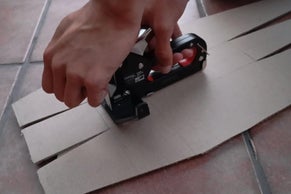
- Heavy-Duty Stapler: For additional reinforcement.
Steps to Attach the Landing Gear:
- Identify the Mounting Area:
- Lay the fuselage cardboard cutout flat on your work surface.
- Identify the middle front section of the fuselage where the landing gear will be attached. This area should be just behind the nose of the plane.
- Mark the Mounting Positions:
- Use a ruler and pencil to mark the exact positions for the landing gear mounts. Ensure these marks are centered and symmetrical for proper balance.
- Apply Hot Glue to the Landing Gear:
- Using the hot glue gun, apply a generous amount of hot glue to the mounting surfaces of the 3D-printed landing gear.
- Attach the Landing Gear to the Fuselage:
- Carefully position the landing gear on the marked spots on the fuselage. Press firmly to ensure the glue adheres well.
- Hold the landing gear in place for a few moments to allow the glue to set properly.
- Reinforce with Staples:
- Once the initial glue has set, use a heavy-duty stapler to further secure the landing gear. Staple through the cardboard and the mounting parts of the landing gear. Ensure the staples are evenly spaced and cover all critical points.
- Add More Hot Glue:
- Apply additional hot glue around the edges of the landing gear mounts and over the staples to further reinforce the bond. Ensure there are no gaps or loose areas.
Tips:
- Double-Check Alignment: Before the glue sets, double-check that the landing gear is properly aligned and centered.
- Work Quickly with Hot Glue: Hot glue sets quickly, so ensure you have everything ready and in position before applying the glue.
Step 8: Assembling the Fuselage
Now that the landing gear is securely attached, it's time to assemble the fuselage. This involves folding and gluing the pre-cut cardboard pieces according to the marked lines to form the body of your RC plane.
Materials Needed
- Fuselage Cardboard Cutout: Pre-cut with marked folding lines.
- Hot Glue Gun: For securing the fuselage pieces.
- Ruler: For ensuring straight folds.
- Pencil: For any additional markings.
Steps to Assemble the Fuselage:
- Lay Out the Fuselage:
- Place the fuselage cardboard cutout flat on your work surface with the marked lines facing up.
- Fold Along Marked Lines:
- Using a ruler, gently fold the cardboard along the pre-marked lines. Ensure the folds are sharp and straight, which will help maintain the structural integrity of the fuselage.
- Apply Hot Glue:
- Once all the folds are made, start applying hot glue along the edges where the cardboard pieces will join. Work in sections to ensure the glue does not dry before you attach the pieces.
- Join the Edges:
- Carefully press the edges together along the glued sections. Hold them in place for a few moments to allow the glue to set properly. Ensure that all joints are aligned and secure.
- Reinforce Joints with More Glue:
- After the initial glue has set, apply additional hot glue along the inside and outside of the joints for extra strength. This will help prevent any separation during flight.
- Check the Alignment:
- Make sure the fuselage is straight and properly aligned. Adjust if necessary before the glue fully hardens.
Step 9: Painting the Fuselage
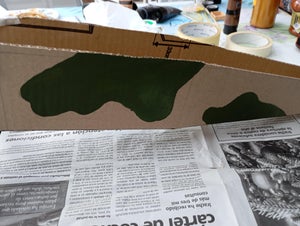
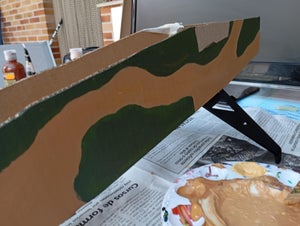
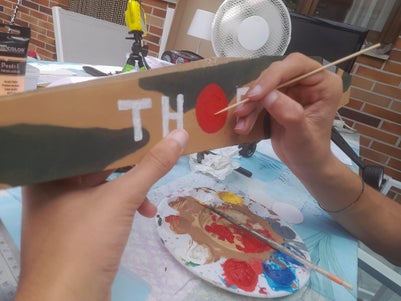
Now that your fuselage is assembled, it's time to give your RC plane a striking military camouflage look. This step involves painting the fuselage with green and brown military colors in an irregular camouflage pattern.
Materials Needed
- Acrylic Paints: Primary colors (red, blue, yellow), black, and white.
- Paintbrushes: Various sizes for different levels of detail.
- Palette or Mixing Tray: For mixing and holding paint.
- Water and Paper Towels: For cleaning brushes and managing excess paint.
- Masking Tape: For covering areas that should not be painted.
Steps to Paint the Fuselage:
- Prepare Your Work Area:
- Lay down newspapers or a protective sheet to keep your work area clean.
- Set out your paints, brushes, and water for cleaning brushes.
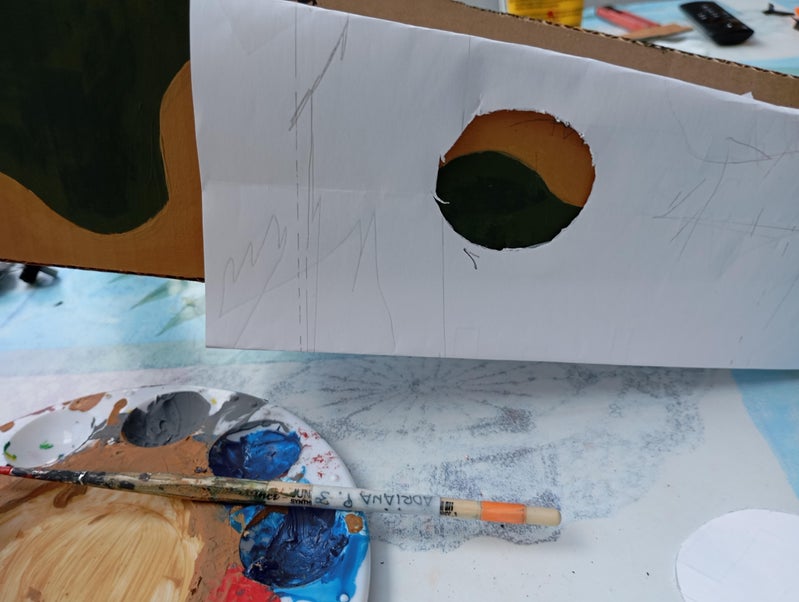
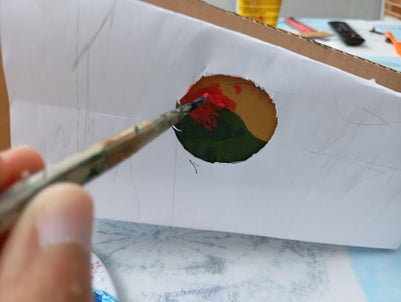
- Mask the Window Area:
- Before starting the camouflage painting, use masking tape to cover the area where the window will be painted. This will keep it clean and ready for detailing later.
- Mixing Colors:
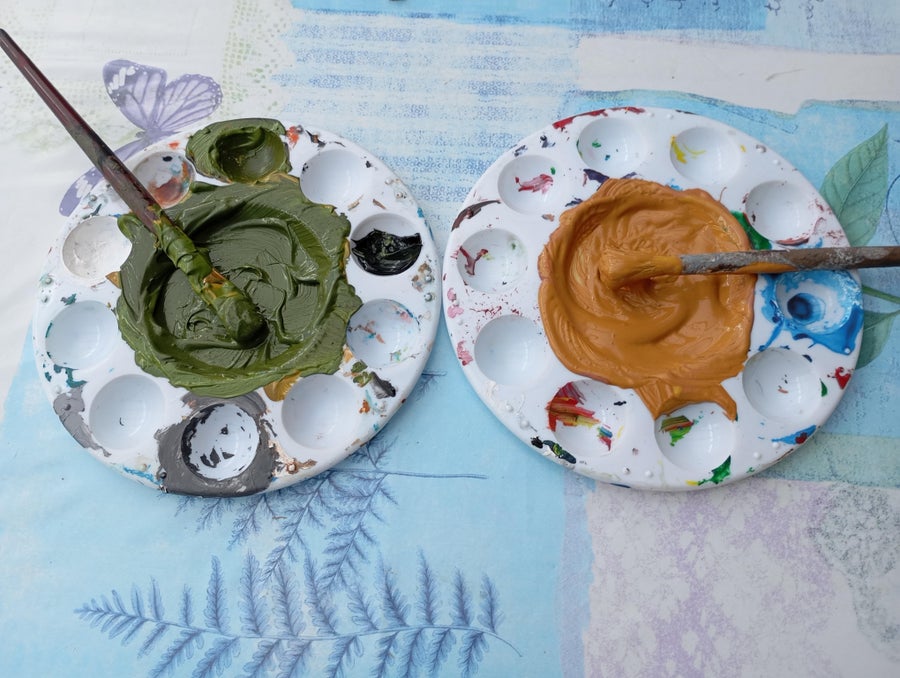
- Mixing Green:
- Combine yellow and blue paint in equal parts to create a base green.
- Add small amounts of black to darken the green to the desired military shade.
- Adjust the mixture by adding more yellow or blue if necessary to achieve the correct tone.
- Mixing Brown:
- Combine red and yellow paint to create an orange base.
- Gradually add blue to the orange base to create a brown color.
- Adjust the shade by adding small amounts of black to darken or white to lighten the brown until you reach the desired military tone.
- Start with the Base Color:
- Using a larger brush, start with one of the base colors (green or brown). Apply it in irregular shapes and patches across the fuselage.
- Allow this base layer to dry completely before adding the next color.
- Add the Second Color:
- Once the base color is dry, use a different brush to apply the second color in a similar irregular pattern. The goal is to create a camouflage effect, so vary the shapes and sizes of the patches.
- Overlap some of the patches with the base color to blend the colors naturally.
- Detail Work:
- Use smaller brushes to add finer details and touch-ups. Ensure the edges of the patches are irregular to mimic natural camouflage patterns.
- Layer and Blend:
- If necessary, add additional layers of paint to enhance the depth and richness of the camouflage pattern. Blend the edges of the patches slightly to avoid harsh lines.
Tips:
- Work in Sections: Painting in sections allows for better control and prevents the paint from drying too quickly.
- Use Varied Brush Sizes: Different brush sizes will help create a more natural and varied camouflage pattern.
- Let Each Layer Dry: Ensure each layer of paint is fully dry before applying the next to avoid smudging and blending.


Comments
Post a Comment